How To Apply False Eyelashes like a Pro
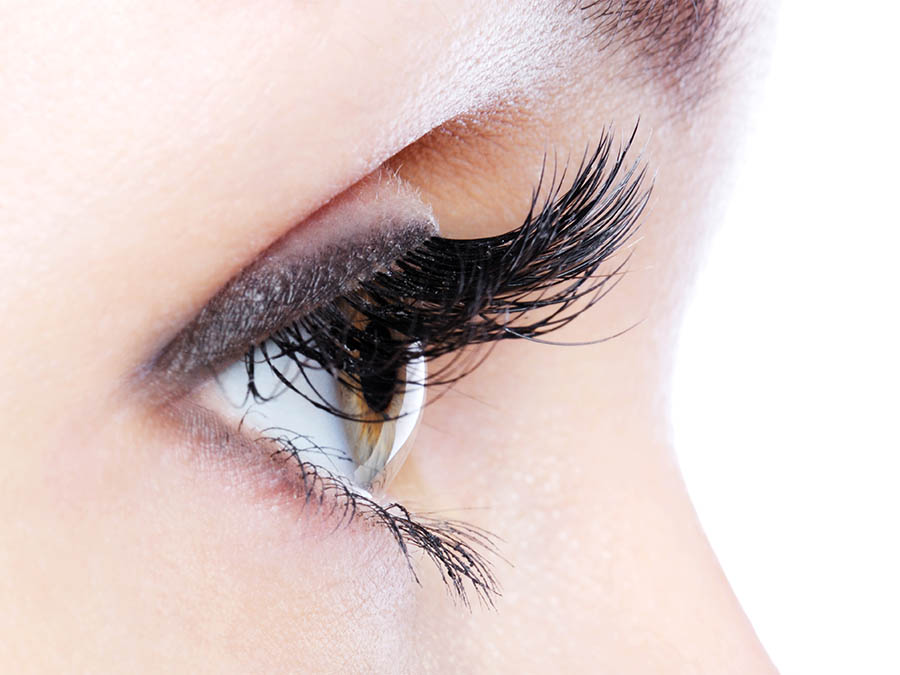
False eyelashes can instantly elevate your makeup game, adding volume and length to your natural lashes for a captivating and dramatic look.
While applying false eyelashes might seem daunting at first, with the right techniques and a bit of practice, you can master this skill and achieve flawless results.
In this comprehensive guide, we will walk you through step-by-step instructions on how to apply false eyelashes like a professional makeup artist. From preparation to removal, we’ve got you covered!
1: Gather Your Tools and Materials
Before you begin the application process, ensure you have all the necessary tools and materials at hand
- High-quality false eyelashes of your choice
- Eyelash adhesive (preferably waterproof)
- Tweezers or eyelash applicator
- Scissors (for trimming lashes if needed)
- Cotton swabs or Q-tips
- A mirror
- Optional: eyelash curler and mascara for natural lashes
2: Prep Your Natural Lashes
Start by prepping your natural lashes to ensure a seamless application. Curl your lashes with an eyelash curler and apply a coat of mascara.
This step will help blend your natural lashes with the false ones and provide a solid base for the application.
3: Measure and Trim the False Lashes
Hold the false eyelashes against your lash line to measure if they fit properly. If they are too long for your eyes, trim them from the outer corner, ensuring they still cover your entire lash line but don’t extend beyond your natural eye shape.
4: Apply Eyelash Adhesive
Squeeze a small amount of eyelash adhesive onto a clean surface or the back of your hand. Use the tip of a cotton swab or the eyelash applicator to pick up a thin layer of adhesive and apply it along the lash band of the false lashes. Pay extra attention to the edges to prevent lifting.
5: Wait for the Adhesive to Get Tacky
Allow the adhesive to dry for about 20-30 seconds or until it becomes tacky. This step is crucial because applying the lashes when the adhesive is too wet can result in a messy application.
6: Positioning the False Lashes
Using the tweezers or applicator, position the false lashes as close to your natural lash line as possible.
Start by placing the middle of the lash band on your lash line and then press the inner and outer corners into place. Take your time to ensure they sit comfortably and securely.
7: Adjust and Secure
Gently press along the lash band to ensure it adheres to your natural lashes and stays in place. If needed, use the tweezers to adjust the position of the lashes before the adhesive fully sets.
8: Applying Mascara (Optional)
Once the false lashes are securely in place, you can apply a light coat of mascara to further blend your natural and false lashes. Be gentle to avoid damaging the false lashes.
9: Cleaning Up
If there is any excess adhesive visible along the lash line, gently remove it using a clean cotton swab or Q-tip. Avoid tugging on the lashes as this might cause them to come off prematurely.
10: Removing False Lashes
To remove the false lashes, soak a cotton pad in a gentle eye makeup remover and hold it against your closed eye for a few seconds to loosen the adhesive. Gently slide the false lashes off your natural lashes using your fingertips or tweezers.
And Finally
With practice and patience, applying false eyelashes can become second nature, allowing you to effortlessly achieve stunning eye looks.
Remember to invest in high-quality lashes and adhesive to ensure a comfortable and long-lasting wear.
Whether you’re getting ready for a special occasion or simply want to enhance your everyday makeup, mastering the art of false lash application will undoubtedly be a game-changer in your beauty routine!


