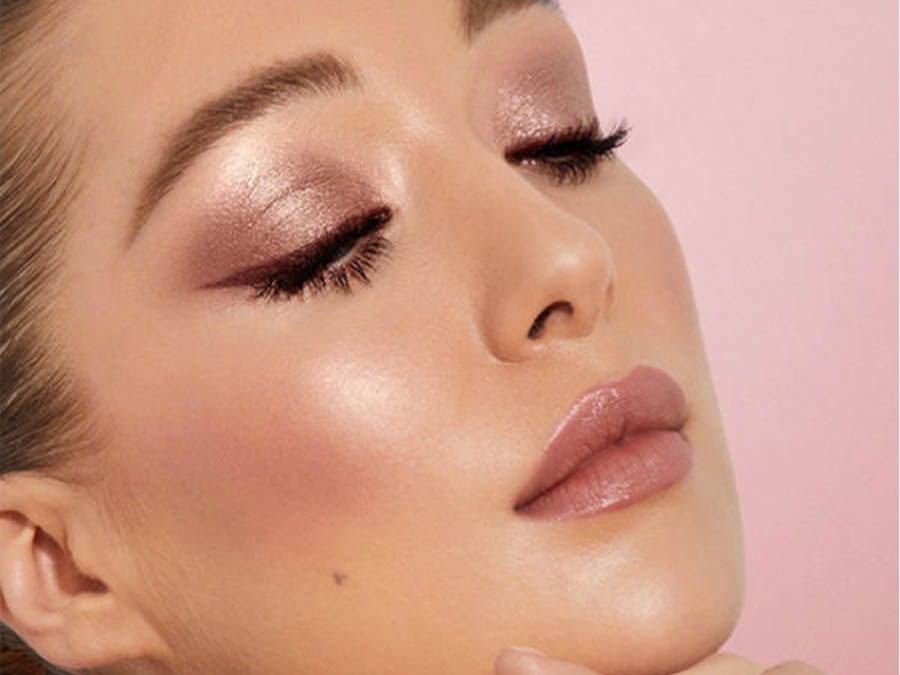
How to Mix Pearly Eyeshadow Into Your Foundation
Achieving radiant, glowing skin is a makeup trend that has stood the test of time. From dewy complexions on the runways to everyday makeup routines, that luminous glow never goes out of style.
If you’re looking for an innovative way to achieve that coveted luminosity, here’s a game-changing hack: mixing pearly eyeshadow into your foundation.
This technique not only adds a beautiful radiance but also customizes your foundation to perfectly match your desired level of glow.
Follow our step-by-step guide to achieve a flawless and radiant complexion like never before.
Step 1: Gather Your Supplies
Before you begin, ensure you have all the necessary items on hand:
- Liquid foundation: Choose a foundation with a finish you like – matte, satin, or dewy.
- Pearly eyeshadow: Opt for a finely milled, light-coloured pearly eyeshadow. Champagne or soft pink tones tend to work well
- Mixing palette or back of your hand: A clean surface to mix your concoction.
- Makeup brush or sponge: Your preferred tool for applying foundation.
- Moisturizer and primer: Ensure your skin is properly hydrated and prepped for makeup.
Step 2: Prep Your Skin
Start with a clean and moisturized face. Apply your favourite moisturiser and primer to create a smooth canvas for your makeup. Let these products sink in for a few minutes before proceeding.
Step 3: Dispense Foundation
Squirt a small amount of your liquid foundation onto your mixing palette or the back of your hand. The amount you use will depend on how much coverage you desire. Remember, you can always add more if needed.
Step 4: Choose the Right Eyeshadow Shade
Select a pearly eyeshadow shade that complements your skin tone and the finish of your foundation.
Champagne shades work well on a variety of skin tones, while pink hues can add a subtle flush.
Step 5: Mix It Up
Using a clean makeup brush or a disposable spatula, mix a small amount of the pearly eyeshadow into the foundation.
Start with a small amount – you can always add more if you want a more intense glow. Mix until the eyeshadow is evenly distributed throughout the foundation.
Step 6: Test and Adjust
Apply a small amount of the mixture onto your jawline to test the colour and glow intensity. Adjust the ratio of eyeshadow to foundation as needed until you achieve the desired effect. Remember, it’s easier to add more eyeshadow than to dilute the mixture.
Step 7: Apply Your Custom Glow Foundation
Using your preferred makeup tool – a brush or sponge – apply the custom mixed foundation to your face.
Start at the centre and blend outwards for an even application. Take your time to ensure the foundation is seamlessly blended into your skin.
Step 8: Build if Desired
If you’re aiming for an even more radiant look, you can apply an additional layer of the custom foundation mixture to areas where you want more glow – typically the high points of your face, like the cheekbones, bridge of the nose, and cupid’s bow.
Step 9: Set Your Glow
To set your radiant masterpiece, lightly dust a translucent setting powder only where necessary. Avoid over-powdering, as you don’t want to dull the glow you’ve worked so hard to achieve.
Step 10: Complete Your Makeup Look
Finish your makeup as usual with blush, bronzer, highlighter, and any other products you love. The pearly eyeshadow-infused foundation will seamlessly blend with the rest of your makeup.
Final Thoughts
Mixing pearly eyeshadow into your foundation might sound unconventional, but it’s a brilliant way to customise your glow and achieve that coveted lit-from-within look.
This technique allows you to take control of your makeup and tailor it to your preferences, giving you a unique and radiant complexion that will turn heads wherever you go.
So, go ahead and experiment with this hack – you’re just a few drops of eyeshadow away from your most radiant skin yet!


